Authentication
Table of Contents
WebLab-Deusto provides an extensible authentication mechanism. This way, all users are stored in the database, but different UserAuth mechanisms can be used for each user. The system will check for each user what mechanisms are available, and will check the credentials with each system. If any of the mechanisms say that the user is valid, the authentication mechanism will understand that it’s a valid user.
For instance, if a password is provided by ‘student1’, who has two UserAuth, one providing a password hash stored in the database, and another one detailing a certain LDAP server that is valid for this user, then the system will check one system and then the other. If any of them says that it is correct, it does not check more systems. The order of these systems is detailed in the database, so it will first check local passwords and then it will check LDAP servers, for instance.
OAuth 2.0
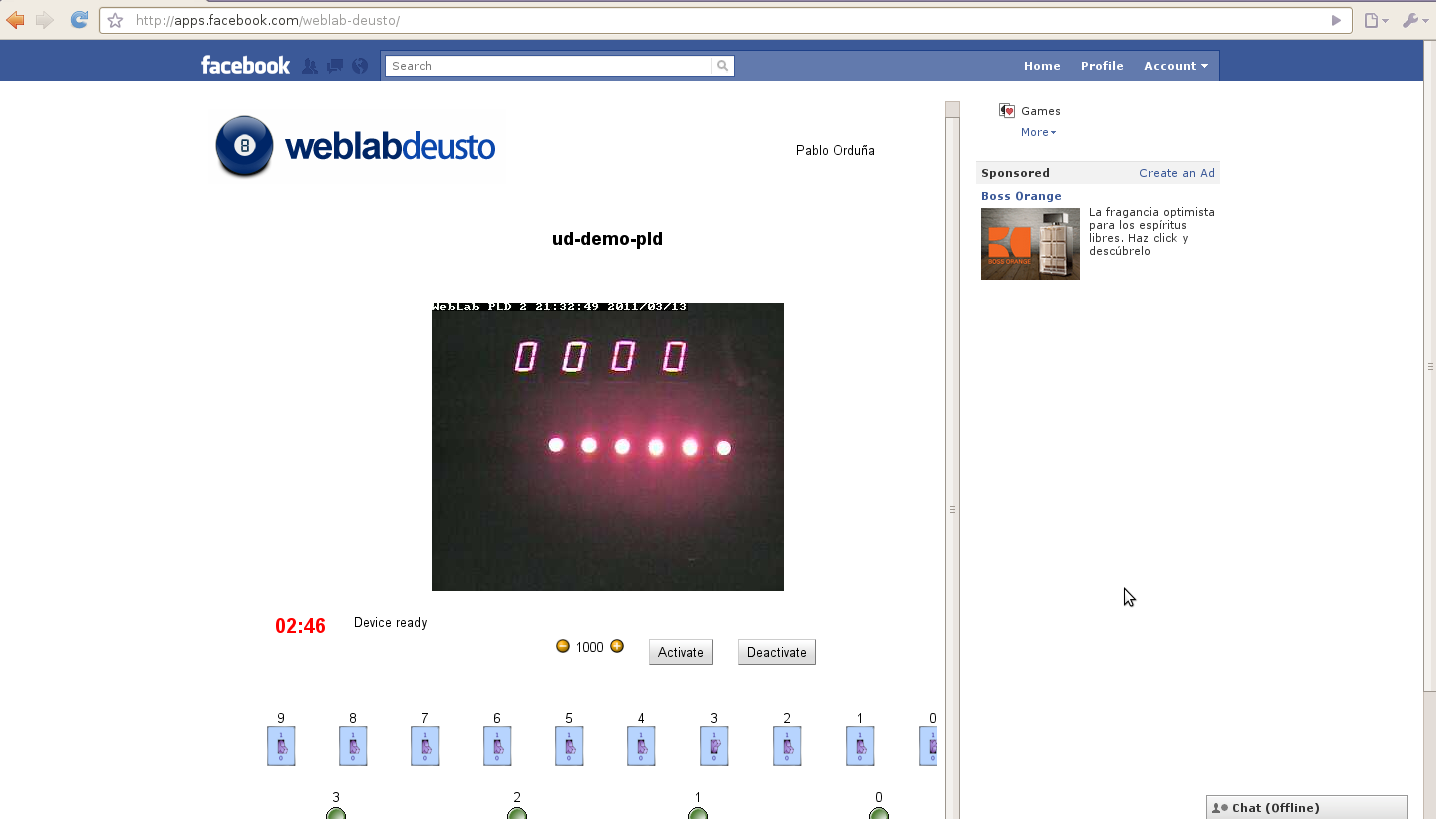
WebLab-Deusto can be easily integrated in Facebook through OAuth 2.0, as seen in http://apps.facebook.com/weblab-deusto/
Supporting other OAuth 2.0 systems for authentication should be simple, although some work would be required.
When first logging in the application, a website will offer two choices:
- Providing the WebLab-Deusto credentials, so the facebook account and the WebLab-Deusto accounts will be linked.
- Create a new WebLab-Deusto user, linked to this facebook account. When creating this user, the system will grant the same permissions the demo user has.
From this point, users will automatically see the experiments they have permissions to use, just as if they were logging in the WebLab-Deusto client, with the only difference that experiments are adapted to the Facebook constraints. For instance, Flash and Java experiments are resized to fit in the constraints imposed by Facebook (with a small fixed width).
Registering the application
In http://www.facebook.com/developers/ anyone can create applications for free. The application must use the iframe mode, pointing to the /weblab/login/facebook/.
The Login Server must be configured with the following Facebook parameters:
# The server where the WebLab-Deusto is deployed
# The link to the Facebook application, as you registered it.
login_facebook_url            = ""
login_facebook_client_address = ""
login_facebook_auth_url       = "http://www.facebook.com/dialog/oauth?client_id=%s&redirect_uri=%s&scope=email"
# The Facebook Application identifier, available in http://www.facebook.com/developers/
login_facebook_app_id         = ""
login_facebook_canvas_url     = ""
Additionally, the Login Server must be configured to establish which permissions will have new users created through Facebook (if this is enabled) with the following configuration values in the Login Server configuration file:
login_not_linkable_users = ['demo']
login_default_groups_for_external_users = ['Demos']
login_creating_external_users = True
login_linking_external_users = True
The login_not_linkable_users points to which users you don’t want anyone to link. For instance, in the University of Deusto we use a user called “demo” with a public password (“demo”) for demos. Since we don’t want anyone to acquire this username, we set this property.
The login_default_groups_for_external_users property refers to the groups that will be used for new users through Facebook. Later administrators can select what permissions do these groups have.
Finally, the boolean properties login_creating_external_users and login_linking_external_users can be established if these features are not desired.
OpenID
OpenID is an open standard that enables the decentralized authentication. The authentication process, which consists on a user demonstrating the system that he really is who claims to be, can be handled by remote servers in a transparent way.
Use case
This way, if a university (University A) wants to share their experiments with other university (University B) in a very simple way, students of University B can be registered as OpenID users. As long as the consumer university (University B) counts with an OpenID server (e.g., in Spain the RedIRIS SIR provides http://yo.rediris.es/soy/username@universitydomain as OpenID for those universities enroled), they can provide a list such as:
student1, Student One, student1@universityb.edu, http://oid.universityb.edu/student1
student2, Student Two, student2@universityb.edu, http://oid.universityb.edu/student2
...
The provider university (University A) can then use the Database Manager to add these users as OpenID users. From this point, these students can log in:
/weblab/login/web/openid/verify?user_id=http://sso.universityb.edu/openid/student1
At this point, WebLab-Deusto will redirect student1 to the OpenID handler at universityb.edu. Student1 will provide the credentials to his university (University B), and University B will then redirect again to WebLab-Deusto, with certain tokens known by WebLab-Deusto, and therefore logging in automatically.
It’s important to note that even if the authentication phase is performed in other university, these users are still local users for University A.
This type of deployment is especially useful when dealing with Learning Management Systems that use some kind of Single Sign-On system. If student1 enters in http://moodle.universityb.edu/, which first requires authentication redirecting http://sso.universityb.edu/, then when http://moodle.universityb.edu/ shows an iframe pointing to http://weblab.universitya.edu/weblab/login/web/openid/verify?user_id=http://sso.universityb.edu/openid/student1, the system will automatically show WebLab-Deusto logged in.
Settings
The following configuration values can be defined in the Login Server configuration (default values are provided):
# Only used when connecting to /weblab/login/web/openid/, shows a form where the %s will be user ID
login_openid_domains = {
    'UNED'        : 'http://yo.rediris.es/soy/%s@uned.es',
    'UNED-INNOVA' : 'http://yo.rediris.es/soy/%s@innova.uned.es',
    'DEUSTO'      : 'http://yo.rediris.es/soy/%s@deusto.es'
}
login_openid_host        = 'https://www.weblab.deusto.es'
login_openid_client_url  = '/weblab/client/'
login_openid_base_openid = '/weblab/login/web/openid/'
Based on IP
Under certain and limited circumstances, administrators may want to be able to authenticate as a given local user without providing a password. For instance, University A could have two students of University B (called student1 and student2). University A could define “I will let http://moodle.universityb.edu/ to log in as student1 and student2 without asking for a password”.
In order to do so, WebLab-Deusto supports the “TrustedIP” system. In order to do so, a new row is inserted in the Auth table, referencing to TRUSTED-IP-ADDRESSES in AuthType. The configuration defines the supported IP addresses, separated by commas if multiple are required (such as 127.0.0.1, 130.206.138.16). Then, new rows are required in UserAuth, one per each User, pointing to the new Auth. No configuration is required in the UserAuth. From this point, those users can be logged in through /weblab/login/web/login/?username=student1 without providing a password from the defined IP addresses.
LDAP
LDAP is an application protocol for reading and writing directories. Through these protocols it’s possible to gather information of students from a LDAP infrastructure of the University, and it is possible to use LDAP to authenticate users.
WebLab-Deusto uses LDAP to register users and to check that the password provided by the user is the password used in the system. Therefore, for a certain amount of time, the university credentials are handled by WebLab-Deusto. It does not store it in any format, but if the WebLab-Deusto server is hacked, the credentials of those users using the system during that time are in danger. In the University of Deusto this is the system used with our students. However, if you still don’t trust it and prefer other solutions, check other systems.
Note
How to use LDAP has not been yet documented.
Extending the system
The authentication system is based on plug-ins. It can be extended by implementing a proper plug-in in Python. This section covers how to implement one system.
WebLab-Deusto differentiates among two different types of authentication systems:
- Simple: those systems which receive the username and password, and check if the user is who claims to be. Examples of these systems are LDAP, password stored in the database, or checking that it comes from a particular IP address.
- Web protocol systems: those systems which do not receive simply a username and password, but which require an external web protocol. For example, using OAuth 2.0, the user will be forwarded to a particular page that must exist. Or in OpenID, the foreign system will redirect users to a particular page that also must exist.
So basically: if the system you are trying to design requires that WebLab-Deusto provides a new web service or anything to a third system, you should use the second approach. However, if you receive a certain username and password, you may use the first approach.
Simple
All the protocols implemented using the Simple approach are located in the weblab.login.simple package. On it, you will see different modules, one per each system. The most simple plug-in would be the following:
from weblab.core.login.simple import SimpleAuthnUserAuth

class MyPluginUserAuth(SimpleAuthnUserAuth):

    NAME = 'MY-PLUGIN'

    def __init__(self, auth_configuration, user_auth_configuration):
        """ auth_configuration is how the particular system is configured in an
        instance. For instance, 30 students may use a LDAP repository, while other
        30 students are using other LDAP repository. Therefore a plug-in for LDAP
        is implemented, and later with the administration panel you may establish
        that the first 30 students use an instance of the LDAP plug-in, and other
        30 students other instance. The details of the repository would come in the
        auth_configuration (common for many users).

        However, in the case of the hashed passwords in the database, the
        auth_configuration is empty, and user_auth_configuration contains the
        particular hashed pasword.

        Both arguments are strings.
        """
        pass

    def authenticate(self, login, password):
        # Do something with auth_configuration, user_auth_configuration and
        # then return True or False if the login and password match proper
        # credentials.
        return True
Once this class is created and is located in the proper module, the last lines of the weblab/login/simple/__init__.py to register the plug-in. In this example:
from weblab.core.login.simple.db_auth import WebLabDbUserAuth
from weblab.core.login.simple.ldap_auth import LdapUserAuth
from weblab.core.login.simple.ip_auth import TrustedIpAddressesUserAuth
# Just added
from weblab.core.login.simple.my_plugin import MyPluginUserAuth

SIMPLE_PLUGINS = {
    WebLabDbUserAuth.NAME           : WebLabDbUserAuth,
    LdapUserAuth.NAME               : LdapUserAuth,
    TrustedIpAddressesUserAuth.NAME : TrustedIpAddressesUserAuth,
    # Put your plug-in here.
    MyPluginUserAuth.NAME           : MyPluginUserAuth
}
From this point, those user with this authentication mechanism would be validated by it.
Web protocol systems
So as to support those systems using a login subsystem that requires an external protocol, a slightly more complicated process is required. You may find examples in the weblab.login.web package. As you will notice, two classes are required, so the most simple system that you can implement is the following:
from weblab.core.login.web import ExternalSystemManager, weblab_api
import weblab.core.server as core_api

from weblab.data.dto.users import User
from weblab.data.dto.users import StudentRole

class MyManager(ExternalSystemManager):

    NAME = 'MYPLUGIN'

    @logged(log.level.Warning)
    def get_user(self, credentials):
        """Use credentials to validate in the remote system."""

        # credentials might be a token to retrieve information
        # such as the full name, the email or the login.

        login     = "user2132@myplugin"
        full_name = "John Doe"
        email     = "john.doe@deusto.es"

        user = User(login, full_name, email, StudentRole())
        return user

    def get_user_id(self, credentials):
        login = self.get_user(credentials).login
        # login is "13122142321@myplugin"
        return login.split('@')[0]

@weblab_api.route_login_web('/my/')
def my_web():
    """ This is a complete Flask-compliant system, although
    some methods are inherited from WebPlugin that make it
    easier to work with. """

    # Here you can contact other URLs or provide multiple
    # different methods.

    # Once you have something to check credentials with
    # such as tokens or whatever, you may call the following
    # method:
    session_id = core_api.extensible_login(MyManager.NAME, whatever_token)

    # And you may pass it however you want to the final user:
    return ("<html><body><b>This HTML content will be "
        "displayed %s</b></html>" % session_id.id)
Once you write the WSGI-compliant web application, you can register it in the last lines of the weblab/core/login/web/__init__.py as follows:
from weblab.core.login.web.login      import LoginPlugin
from weblab.core.login.web.facebook   import FacebookManager
from weblab.core.login.web.openid_web import OpenIDManager
from weblab.core.login.web.myplugin   import MyManager

EXTERNAL_MANAGERS = {
    FacebookManager.NAME : FacebookManager(),
    OpenIdManager.NAME   : OpenIDManager(),
    # Your plug-in here
    MyManager.NAME       : MyManager(),
}